Skip to content
 Installing magnetic track lights can seem easy—until it isn’t. Doing it like a pro means planning every wire, angle, and touchpoint before you even lift a tool.
To install magnetic track lights professionally, you need a clear layout plan, the right power setup, precise alignment, and tested fixtures. Avoid guesswork—precision is everything.
Lighting upgrades should feel exciting, not risky. But when magnetic track lights are installed wrong, the results aren’t just ugly—they can be unsafe or hard to maintain. I’ve guided dozens of projects and learned one thing: a pro-level install starts way before you open the box. From voltage checks to micro-alignment, every step counts. Below is the full walkthrough I use myself—tested, detailed, and ready for your techs or your next blog post.
What tools are needed for magnetic track light installation?
Most installations fail not from big mistakes, but from missing small tools. The right gear ensures speed, safety, and consistency.
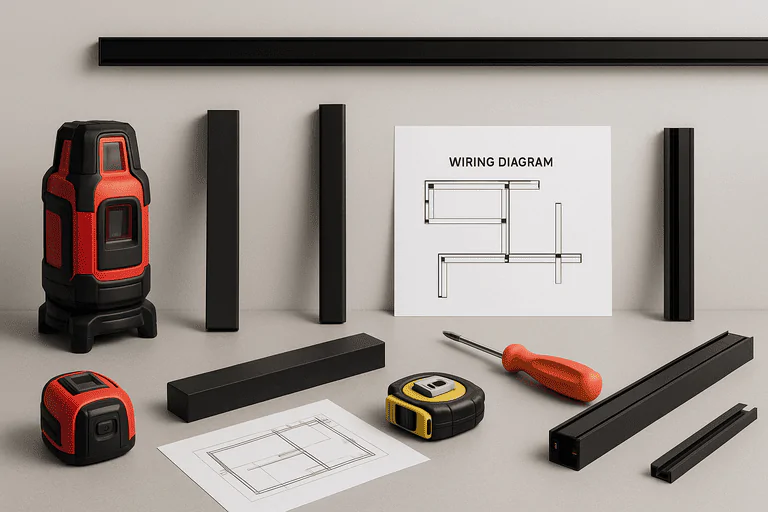
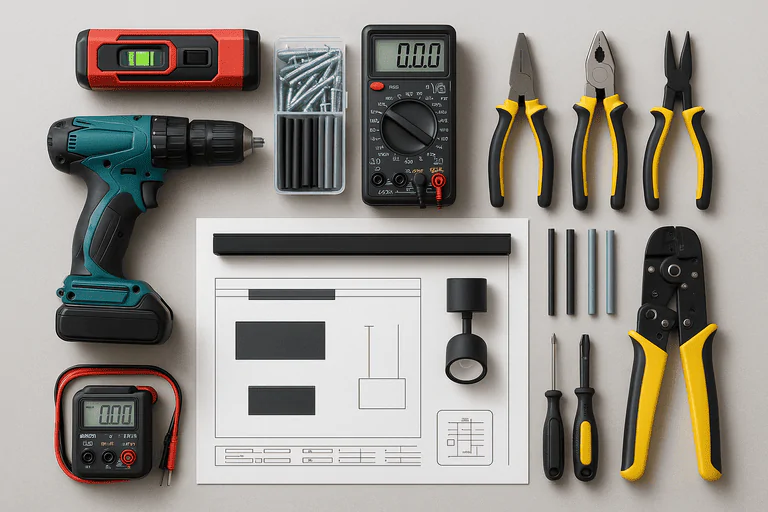
You’ll need: laser level, drill, expansion screws, voltage meter1, heat shrink tubing, insulation tools, and a mockup kit for pre-testing.
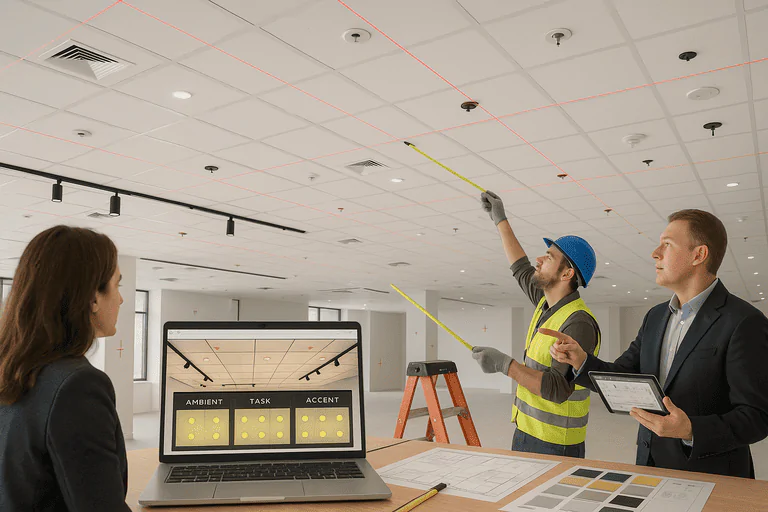
Prepare First: Layout, Voltage, and Fit Testing
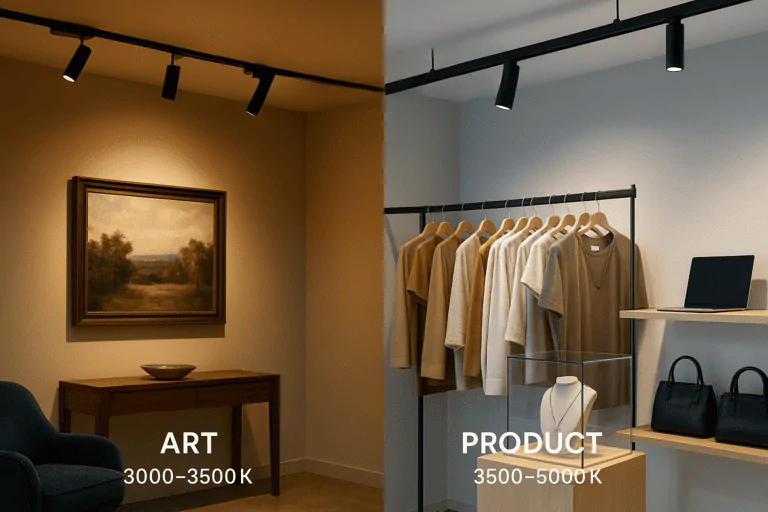
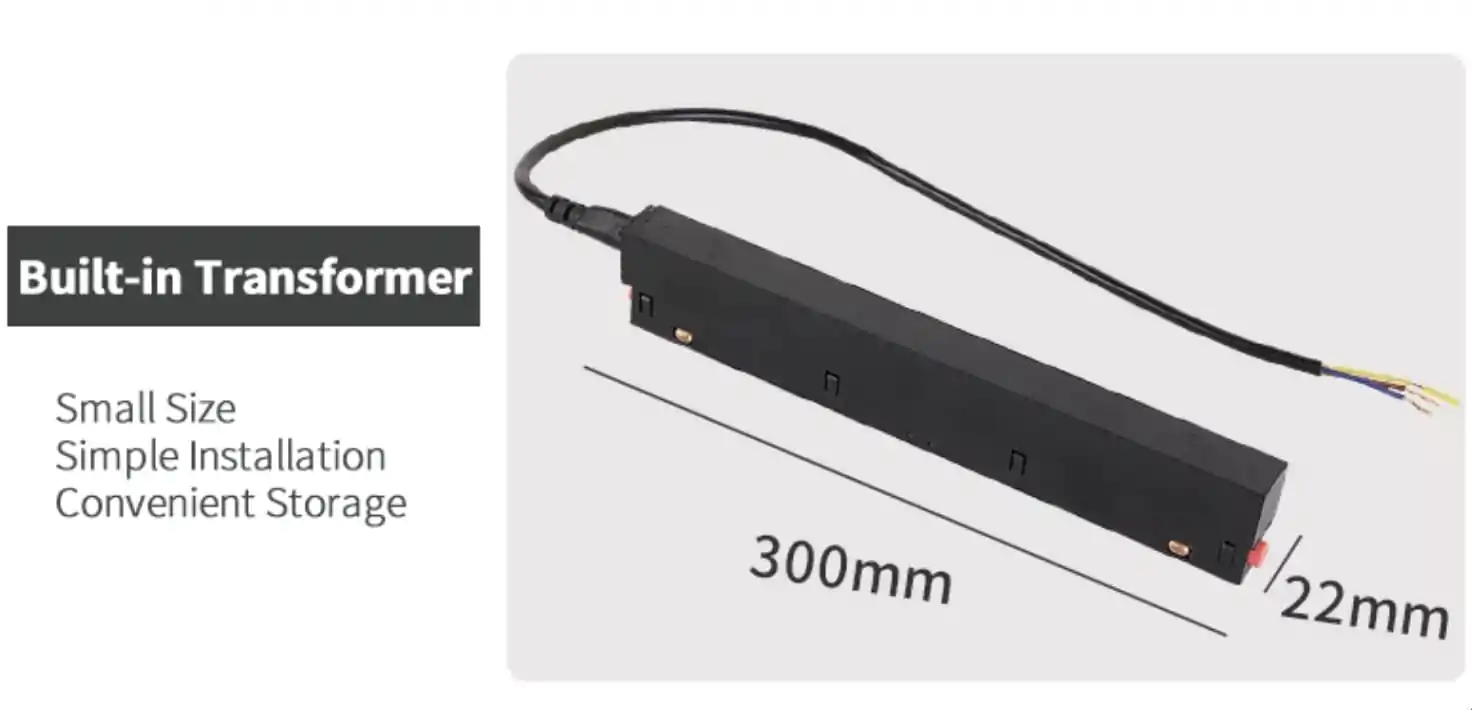
Start by confirming your system’s power spec—most magnetic track lights2 run on 24V or 48V DC. This means you’ll need a compatible transformer that steps down from 220V AC. Map out the rail direction, endpoints, and power spots on your ceiling layout. Check if your ceiling allows drilling or bracket mounting (e.g., gypsum board vs. concrete).
Always pre-check parts. Use a voltage meter1 to test power continuity. For complex systems with curves or crossings, do a mock-up on the floor. This avoids last-minute fitting issues.
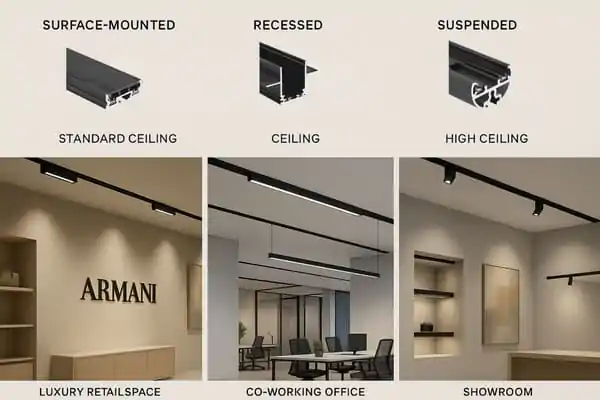
Can magnetic tracks be surface mounted or recessed?
Yes. Magnetic tracks can be installed either flush into the ceiling or directly on the surface, depending on your ceiling structure and design intent.
Surface mounting is easier and faster. Recessed mounting gives a cleaner look but requires more precise carpentry and layout planning.
Align Perfectly: From Mounting to Track Finish
Mounting is where most mistakes happen. You’ll fix brackets to the ceiling first—either to the concrete base or support framing. These brackets must hold both the rail and all future fixture weight. Make sure there’s no long "floating" section without a bracket.
Connect track segments using the correct joints—straight, corner, or T-shaped. Clean contacts to ensure solid electrical connection. Account for thermal expansion with micro gaps to prevent warping later.
Now, grab your laser level. Align and straighten every track section. A small tilt will show visibly. Add dust caps and insulators at both ends. If exposed, install dust-proof covers for a clean, pro look.
How do you connect magnetic fixtures to a power supply?
Connect DC output from the driver to the start of the magnetic rail3. Use wire gauges based on total current and length, minimizing voltage drop.
Insulate connections well, match polarity for multi-point setups, and always ground metal parts for safety.
Wiring Done Right: Clean, Safe, and Hidden
Run wires from your driver to the rail’s power input. Choose cable thickness based on current—undersized wires cause voltage drop. Always route wires through conduits or cable trays.
Connect through plugs or terminal blocks at the track ends. Tape or heat-shrink all joins, keeping them tight and secure. If you’re using multi-point power inputs, check that all connections match polarity. Reversed connections can short the system.
If your rail uses a metal shell, ground it—even if it’s low voltage. Grounding protects against unexpected potential from nearby metal objects or faulty power sources. Once wired, measure voltage at the far end of the track. A clean, steady reading means you’re good to go.
What are the most common installation mistakes to avoid?
Bad alignments4, voltage mismatches5, poor contact, and long track sag are all common mistakes. Each one leads to costly fixes or poor system life.
Most issues can be avoided by testing modules before full install, ensuring tight connections, and supporting long tracks with extra brackets.
Learn From Mistakes: Real Fixes From the Field
Here are the top problems I’ve seen on real jobs—and how to avoid them:
| Problem | Likely Cause | Pro Solution |
|---|---|---|
| Heads don’t slide smooth | Bad joint tolerance or burrs | Sand edges, polish joints, apply small amount of lube |
| Flickering lights | Loose contacts or oxidized connectors | Use anti-oxidant paste, tighten connections |
| Voltage drop | Wires too thin or track too long | Use thicker cable, add power input mid-track |
| Sagging track | Bracket spacing too wide, weak materials | Use more brackets, upgrade to thicker aluminum profile |
| Dust inside fixtures | No dust seals or end caps | Install covers and caps, avoid downward openings |
Also, test everything under load. Run the full system for 30+ minutes. Use an IR gun to check for heat spots. If you’re working on tall ceilings or remote locations, lock heads with micro-locks or anti-vibration pins. That small step saves huge headaches later.
Conclusion
To install magnetic lights like a pro, you need planning, precision, and patience. It’s not hard—but it’s never casual.
-
Understanding the role of a voltage meter is crucial for ensuring safety and accuracy in your installation. ↩ ↩
-
Explore this resource to gain insights on installation techniques and tools for magnetic track lights, ensuring a successful setup. ↩
-
Explore this link to learn essential tips and techniques for safely connecting magnetic rail lighting systems. ↩
-
Understanding the impact of bad alignments can help you avoid costly mistakes and improve installation quality. ↩
-
Understanding voltage mismatches can prevent costly installation errors and ensure system longevity. ↩